
When the iMac first came out, with its pretty colours and its friendly round shape, I really wanted one. But when I needed a new computer in 1998, my dad offered to sell me his old Macbook (which, while not as pretty or colourful, was a better computer, and it was a laptop rather than a desktop and therefore more portable), so I ended up never getting one.
However, with people on Etsy making and selling cat beds made from gutted iMac cases, I finally had my chance to finally get an iMac. The finished cat beds were a bit pricey, especially with shipping, though, but hey: I have an art degree! I can make one all by myself. I just needed to find a dead iMac to cannibalise first.
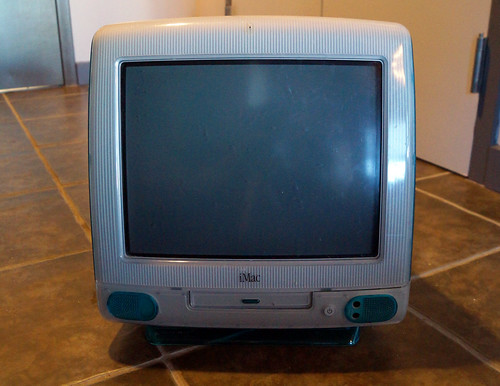
I had been discussing iMac cat beds with my friend Barb (who lives with the lovely blue-cream torbie Aby Sky), and she happened to come across a 1998 Bondi Blue iMac G3 while at a thrift store. She snagged it for me and gave it to me last August at the NEMO cat show. Since then, it’s been sitting in a corner of the living room, waiting for me to get up the nerve to tackle dismantling it.
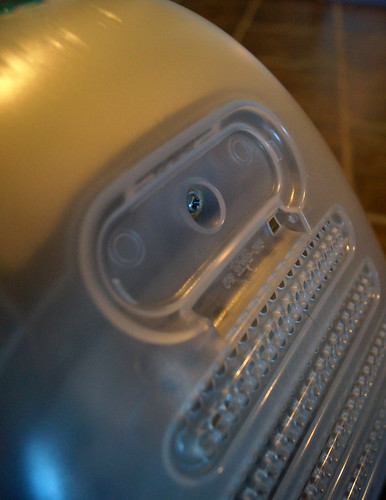
Okay, so now that I have the iMac, where to start? I had found some instructions online that explained the process, but apparently they were for a different iMac G3 than mine. The instructions told me to start by unscrewing two screws at the top…but I only had one screw at the bottom. Okay, so I had the wrong instructions as a guide, but I could figure this out…
I also pretty much ignored all the warnings about dissipating electricity from the CRT (I also didn’t have this link until just now). However, I knew that it hadn’t been plugged in for a very long time. Before Barb was able to get it to me, she’d had it about a year not plugged in, and the person she got it from also hadn’t turned it on for at least a year. Add the 8 months I’d had it, and it had been a non-electrified doorstop for almost three years. I figured it was pretty safe.
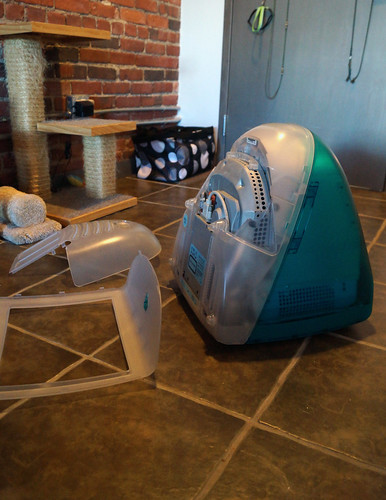
So I got to work. Instructions or no, once you get going it’s pretty much intuition. Interestingly, however, the information I found when I Googled “iMac G3 Cat Bed” was much more helpful than than I’d found when searching for “iMac G3 How To Take Apart!”
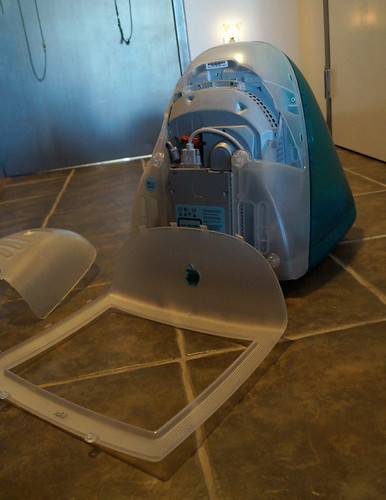
The pieces just naturally came apart in a specific order. The fact that the iMac is translucent helped the dismantling process a lot because you can actually see where the screws are. You just need to suss out how to get to them. This would have been a lot harder on an opaque machine.

It’s pretty amazing what you can two with only two screwdrivers, determination, and brute strength. Putting it back together was much easier – basically just the opposite of taking it apart.
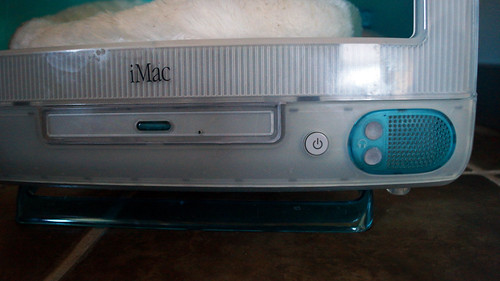
On this particular model of iMac, the CD drive was a tray rather than just a slot, and it was attached to the metal guts rather than to the plastic casing (Evidently, this makes it a rarer model, since Apple only made iMacs with tray-loading CD drives from August 1998 to October 1999 – all the other iMacs had slot drives). Unless I wanted a hole in the front, I needed to figure out a way to stick the door back in. So I used silver-grey Sugru, a moldable glue that turns into rubber when cured. I basically filled in the space between the case and the door with Sugru. While I was at it, I also filled in the earphone and microphone jack holes with bits of Sugru too, just to make it look nice.
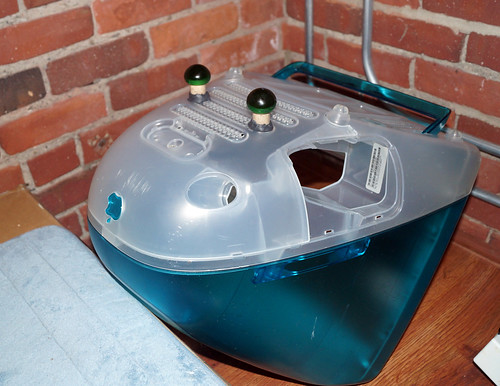
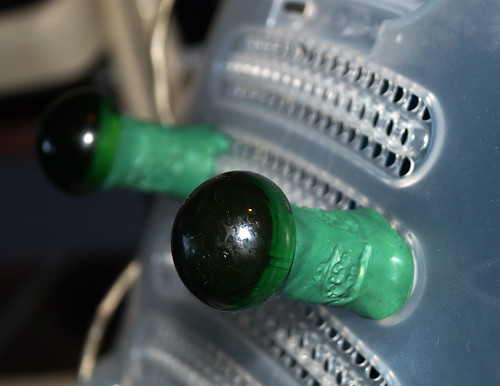
Without the guts to weigh down the case, the round shape was unsteady, and the built in folding kickstand thing wasn’t enough to keep it from rolling around. What I needed was some little legs to hold it up. I thought about it for a few minutes and then went and dug out these pretty plastic corks with plastic tops I’d saved because, dammit, someday they’d come in handy!
And look, someday they did! They make perfect legs for the iMac bed. I stuck them on with some black and white Sugru mixed together. I was hoping for a lighter grey…
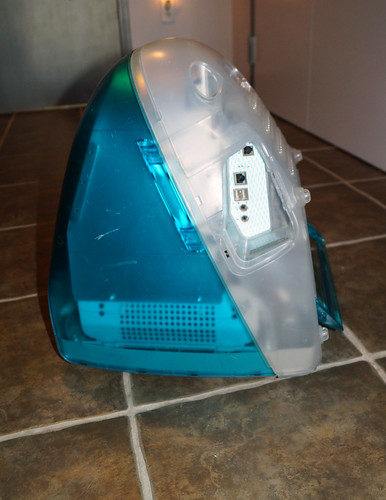
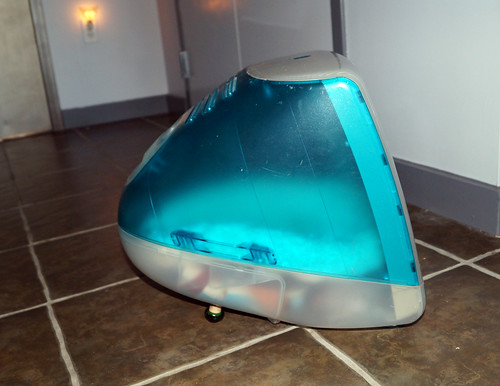
(As a side note, that hole in the bottom side of the iMac is where all the USB and other ports were, and apparently, once upon a time, it had a little door to cover it. This seems to have been lost over the past 17 years, but I was able to find a replacement online, and I should have it tomorrow!)
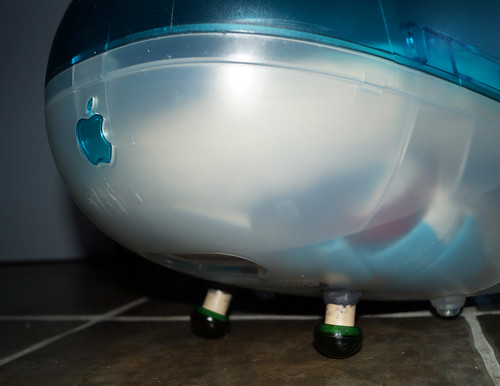
Unfortunately, even when cured, the Sugru wasn’t strong enough to hold the legs on when the iMac was right side up. You can see the left leg already starting to give way. I’d need to reinforce the legs to make them stronger. Okay…back to the drawing board.
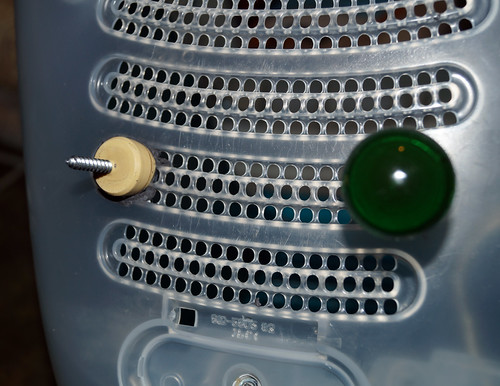
I cut away the Sugru holding the legs on, but left the base I’d built. Then I found two wood screws that would fit through the ventilation holes on the iMac.
The screws I found were longer than my corks, so I found another plastic wine cork (without a decorative knob) that had been saved as a cat toy and cut two slices from it to lengthen the legs to fit my screws.

I also couldn’t find any washers that would work. So I cut two circles out of thick black leather and made my own washers. Also, if you look in the back, there’s a knob of silver Sugru. The first screw had nothing to screw into once the guts were removed (it screwed into the metal), so I stuck it in at the top with some Sugru and then built a Sugru base for it on the inside. That should hold it.
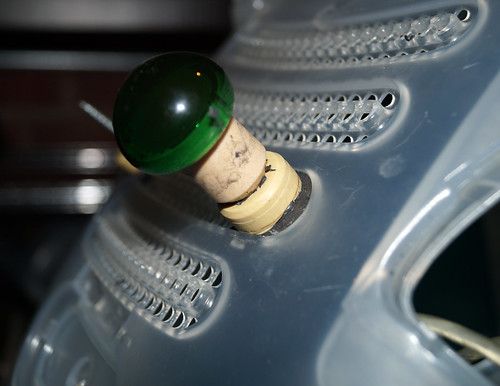
Once I had my cork-knob legs and the cork extenders screwed in, I covered them with blue and yellow Sugru mixed together to make green. This started as a way to fill the gap between the two corks and help to anchor the base to the iMac…but it evolved into a way of making the legs a solid colour and making them look more like they were meant to be a part of the iMac bed.

While I was smoothing the Sugru, I got the idea to decorate the legs, so…
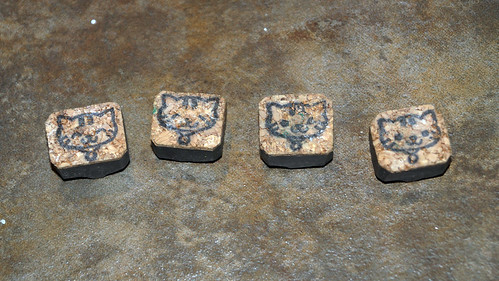
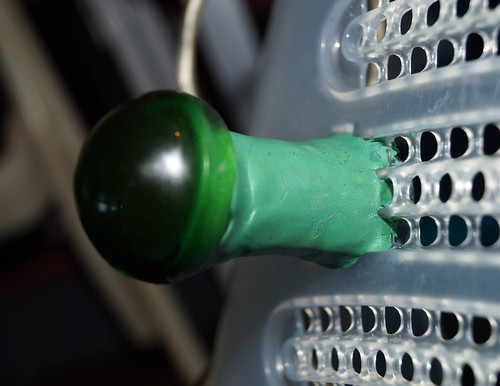
…I dug out these little cat-face stamps from CatHands on Etsy that I bought ages ago for making silver clay bracelets. The faces were small enough that I was able to fit all four on each leg. Stamping the faces on also hides the bits I wasn’t able to get perfectly smooth.
Here are the finished legs. They should hold even the heaviest kitty now! And they have cute little cat faces on them.
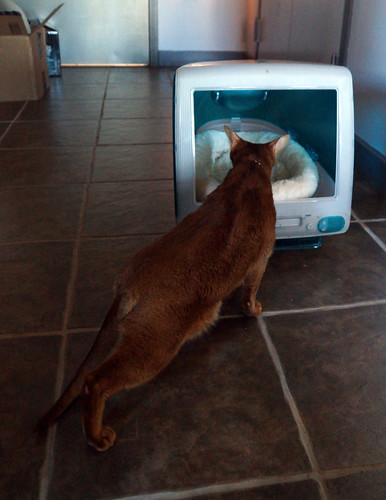
For now, I just put a random cat bed into the iMac, but I’m going to make a custom-fitted cushion using this fabric which will be stuffed with old shredded T-shirts to make it washable. But it’s done enough for now, so I showed the finished bed to Angel first.

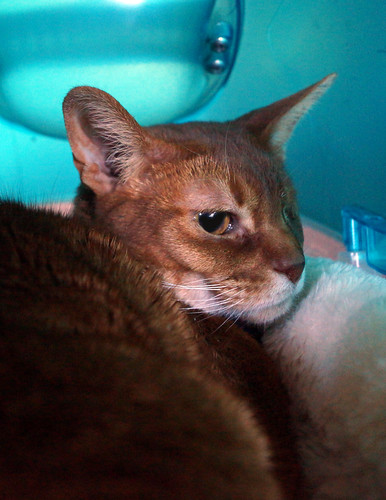
She seemed a little trepidatious at first but quickly settled in.
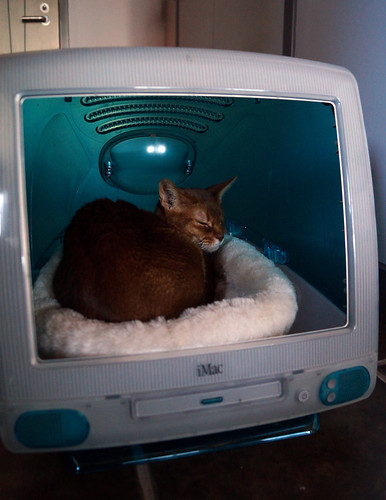
See Angel? It’s pretty comfy, right?

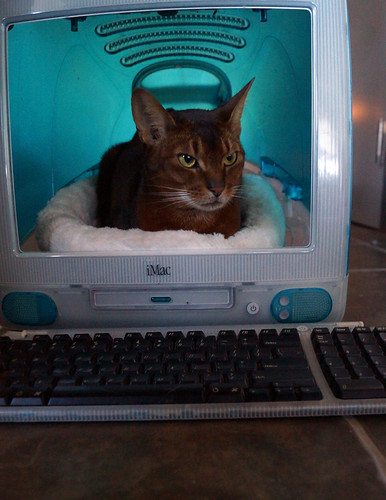
Then I showed it to Jacoby. He wasted no time in stepping inside and making himself comfortable.

Jake approves of the new bed!
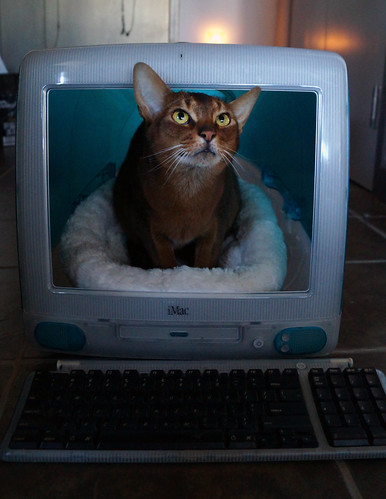
Please also note that I kept the original keyboard (which is attached to the iMac case by threading the cord through open holes in the back). Cats like sleeping on keyboards, so might as well keep it. I also need to find one of the original “hockey puck” iMac mice to complete the ensemble – this machine came with an Apple “Pro” Mouse which doesn’t match as nicely (plus, it still works)!
I wonder who is going to “own” this cat bed?
