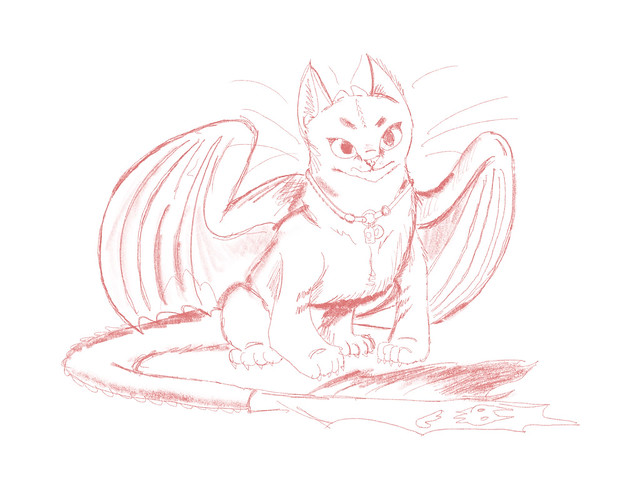
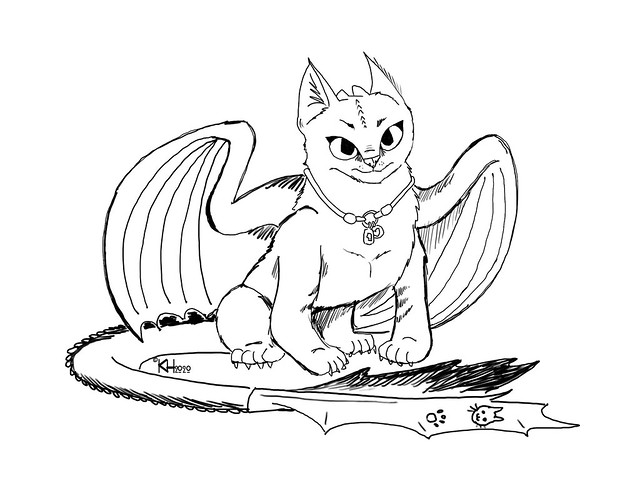
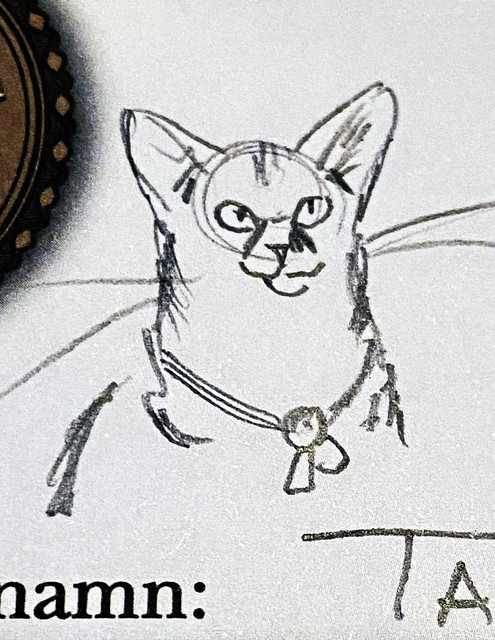
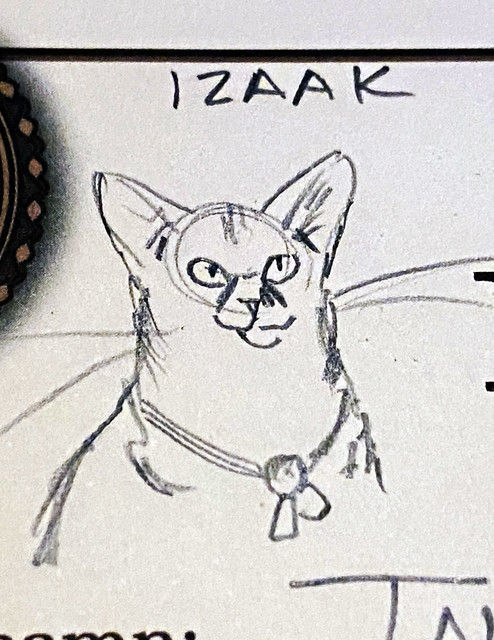
As you remember from last week’s post, I started working on a drawing of Izaak as Toothless the Night Fury from the How to Train Your Dragon films. The first step was the second, clean ink layer. I did something a little different than I usually do, though; I only used black for the outline on his eyes and his tail attachment. On the rest of his outline, I used dark brown, and on his collar, I used blues and silvers. And I finally worked out how the eyedropper tool works in Procreate! You’ll notice I didn’t outline the bones on the wings. I actually did, but then copied them to their own layer. I had an idea.


I did the undercolouring in two layers: one of the basic shades, and another on top of that with the eyes and collar colour and the wings and prosthetic tail. I found a marvellous texture brush in Procreate that was perfect for the wings and the tail attachment.


Here are the two undercolour layers combined…and then with the ink layer.

Then I worked on the wing details. These are the outlines from the inking…with some transparency, layer enhancements, and…finally, a use for the plastic wrap filter!


Then I switched to the background. I found a blank background from the movie art and deleted the bits in the scene I didn’t want. Then I added a paint layer to adapt the scene to what I wanted.

Then I combined those and ran a few filters.

But…when I switched from Procreate to Photoshop and put “Zakless” on the background, I discovered there was a transparency problem.

You can’t always see the gaps in colour when you’re working in Procreate on a white background. But I came up with an easy fix.
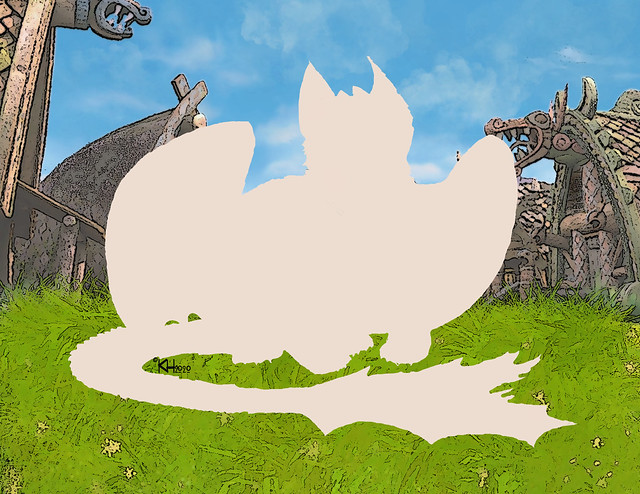
I made a quick solid, opaque figure on a separate layer between the background and the colour layers. This would actually turn out to save me time later on.
Problem solved! Now it’s time for the collar and fur texture.
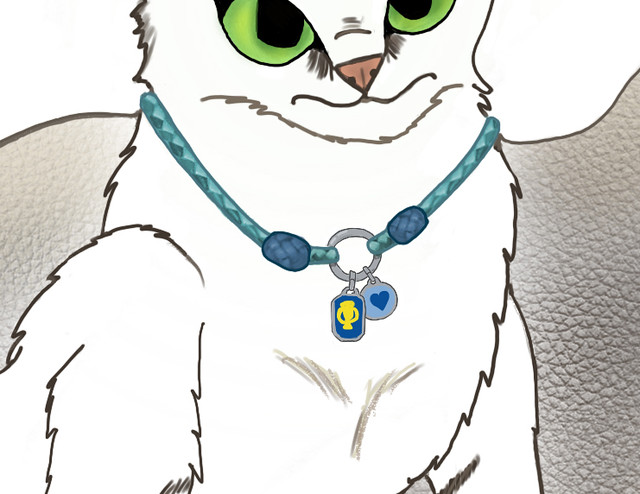
I did the collar first. I actually used a photo of Alfred’s collar and changed the hue and lightness to get Zak’s blues and lightened the opacity to get the braid pattern. This is on a layer between the second ink and the undercolour. I could have done a similar thing with his tags…but I liked the way I drew them.
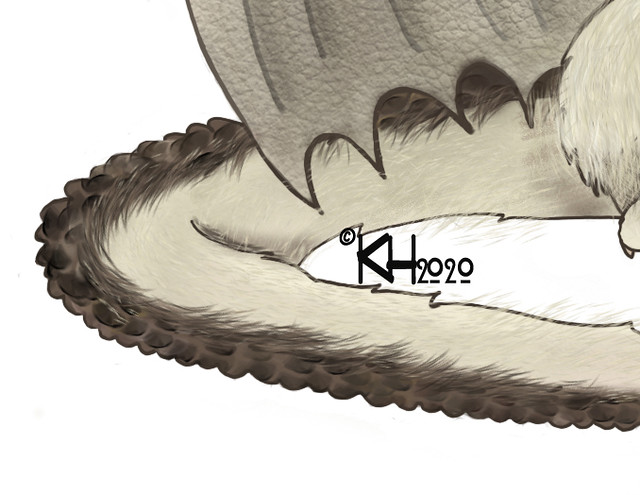
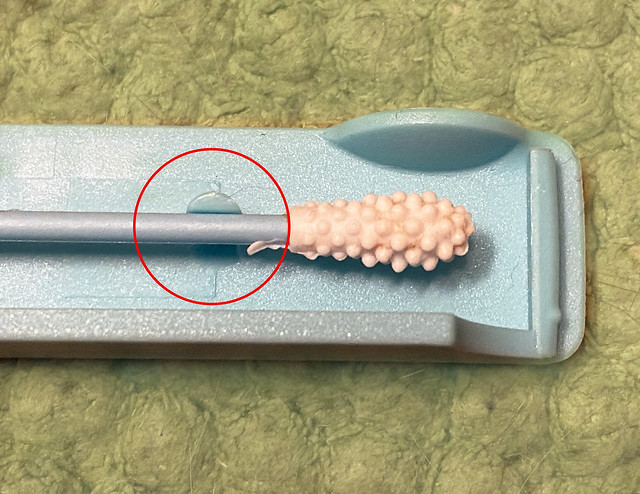
Next, the fur texture. You’ve all seen my fur brushes, and I didn’t do anything new or unusual…except this: I found a wicked cool scale brush along with my feather and fur brushes. Never needed to use a scale brush before, and I really like the effect.

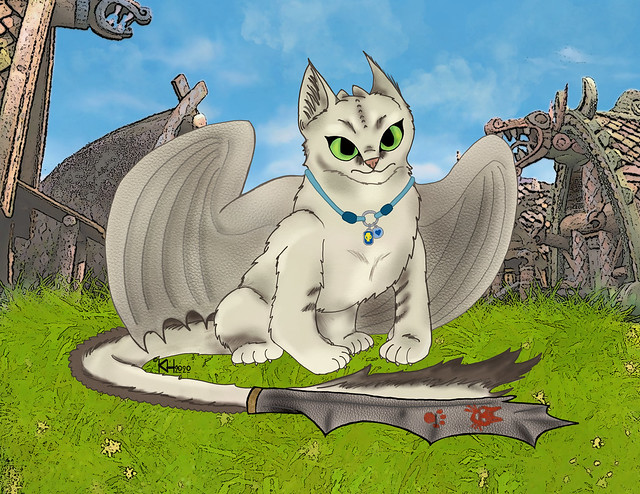
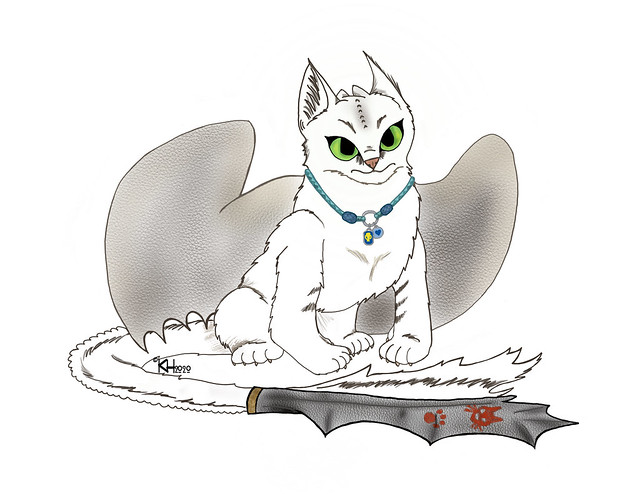
Here’s the finished Zakless, including whiskers and eyeshine.
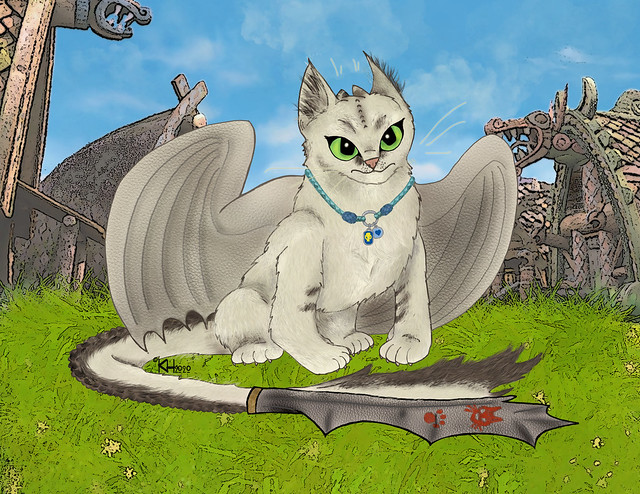
And here he is with the background.

Add his shadow (made using a copy of the opaque layer I had already made, just black, distorted, translucent and blurred)…and voilà! Here is the finished Zakless!
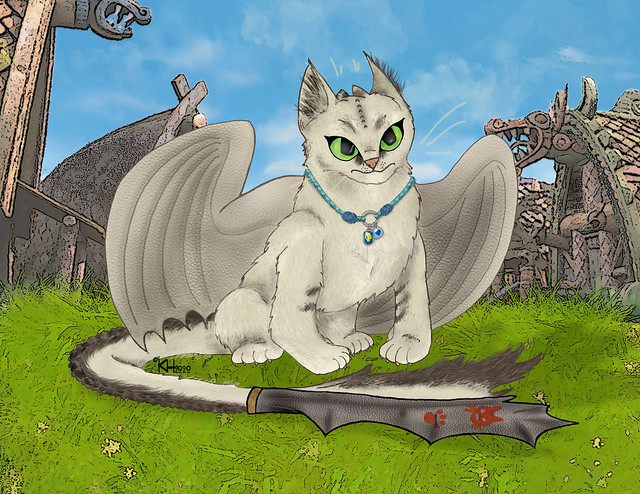
Or is it? After I thought I’d finished him, I got a brainwave on how to improve the eyeshine…with the plastic wrap filter!

I think it looks more realistic. I also added a tiny drop shadow to the collar. It’s barely noticeable, but it adds a bit of depth, which I like. Yes…I think he’s finished now.